


IT Services and Software
09 June 2026
Access UC IT systems, find software to use in your studies, or get tech support if you need help.
HOW TO APPLY
UC systems

Logging into UC systems

IT policies and documentation


More IT services and resources
Wifi , workrooms and video conferencing
-
Wifi at the halls
04 July 2024
UCwireless and eduroam Wi-Fi networks are available in all UC halls of residence. Find out more about Wi-Fi at the halls.

-
Wifi at the halls
UCwireless and eduroam Wi-Fi networks are available in all UC halls of residence. Find out more about Wi-Fi at the halls.
-
Wifi at the halls
-
Wireless access at UC
11 February 2026
Students, visitors, and staff can get access to the internet and UC network via the UC wi-fi. Find out about wireless access at UC and how to access it.
-
Wireless access at UC
Students, visitors, and staff can get access to the internet and UC network via the UC wi-fi. Find out about wireless access at UC and how to access it.
-
Wireless access at UC
-
Connecting to UCwireless
04 October 2024
UCwireless is the default Wi-Fi network for undergraduate students. Staff and postgraduate students can also connect to this network but won't be able to roam to other educational institutes the eduroam wireless network offers. Learn more about connecting to UCwireless.

-
Connecting to UCwireless
UCwireless is the default Wi-Fi network for undergraduate students. Staff and postgraduate students can also connect to this network but won't be able to roam to other educational institutes the eduroam wireless network offers. Learn more about connecting to UCwireless.
-
Connecting to UCwireless
-
Computer workrooms
10 November 2023
UC has PC and Apple Mac computer workrooms in various locations on our Ilam campus. All workrooms come with a standard set of software. Some workrooms also have course-specific applications available. See where UC's computer workrooms are and when they're available.

-
Computer workrooms
UC has PC and Apple Mac computer workrooms in various locations on our Ilam campus. All workrooms come with a standard set of software. Some workrooms also have course-specific applications available. See where UC's computer workrooms are and when they're available.
-
Computer workrooms
-
Zoom
13 February 2024
Zoom is currently the preferred method for video conferencing.

-
Zoom
Zoom is currently the preferred method for video conferencing.
-
Zoom
Files and storage
-
Dropbox
17 February 2026
Dropbox is a cloud file storage service that lets you share, synchronise, and collaborate on documents across UC and with a wider group of collaborators in academia and industry.

-
Dropbox
Dropbox is a cloud file storage service that lets you share, synchronise, and collaborate on documents across UC and with a wider group of collaborators in academia and industry.
-
Dropbox
-
Storage
15 January 2024
UC provides various storage tools for our students and staff. You can use any combination of the options that best suit your needs. Check out our storage options.

-
Storage
UC provides various storage tools for our students and staff. You can use any combination of the options that best suit your needs. Check out our storage options.
-
Storage
-
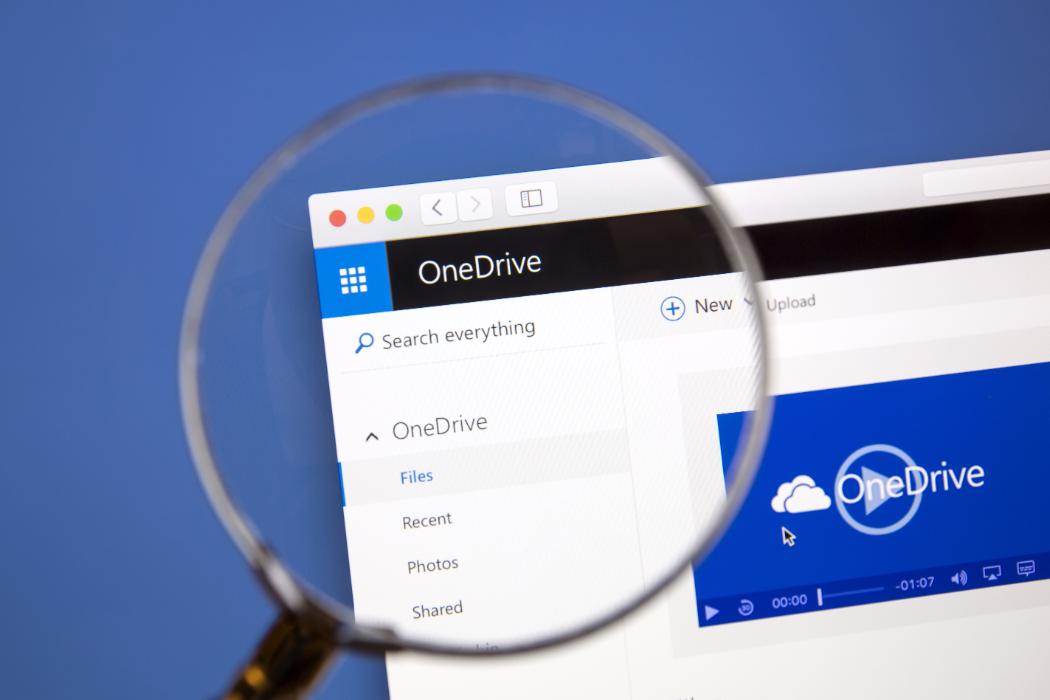
Microsoft OneDrive
23 February 2024
OneDrive for Business is a part of the Office 365 package. It's cloud storage that allows UC students to store, sync, and share up to one terabyte of files across multiple devices for free. Learn more.
-
Microsoft OneDrive
OneDrive for Business is a part of the Office 365 package. It's cloud storage that allows UC students to store, sync, and share up to one terabyte of files across multiple devices for free. Learn more.
-
Microsoft OneDrive
-
OneDrive file restoration
15 January 2024
If you accidentally delete a file or folder in OneDrive, you might be able to recover it later from the OneDrive recycle bin. Learn about OneDrive file restoration.
-
OneDrive file restoration
If you accidentally delete a file or folder in OneDrive, you might be able to recover it later from the OneDrive recycle bin. Learn about OneDrive file restoration.
-
OneDrive file restoration
Study planning
-
Timetable planner
13 January 2026
The Timetable planner tool lets you enter UC courses and preview how they'll fit into a timetable. It's an easy way to see a course schedule without being enrolled.

-
Timetable planner
The Timetable planner tool lets you enter UC courses and preview how they'll fit into a timetable. It's an easy way to see a course schedule without being enrolled.
-
Timetable planner
-
Student Advisors
Kaitohutohu Ākonga
05 June 2024
Whether you're thinking of studying at UC, in your first year, keen to keep studying or want to transfer credits, UC Student Advisors are here to help. Get in touch with any questions you have a about studying so you can be confident you're on track. Find an advisor for your situation.

-
Student Advisors
Kaitohutohu Ākonga
Whether you're thinking of studying at UC, in your first year, keen to keep studying or want to transfer credits, UC Student Advisors are here to help. Get in touch with any questions you have a about studying so you can be confident you're on track. Find an advisor for your situation.
-
Student Advisors
IT Service Desk Need help?
Got feedback?
We've just updated this page - we welcome your feedback.
